1
/
of
10
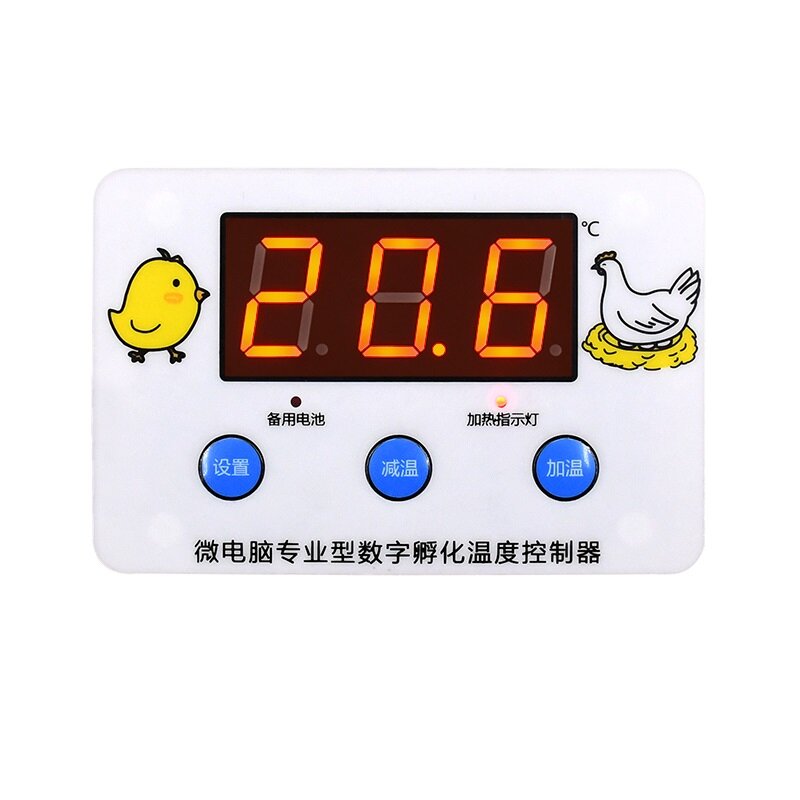
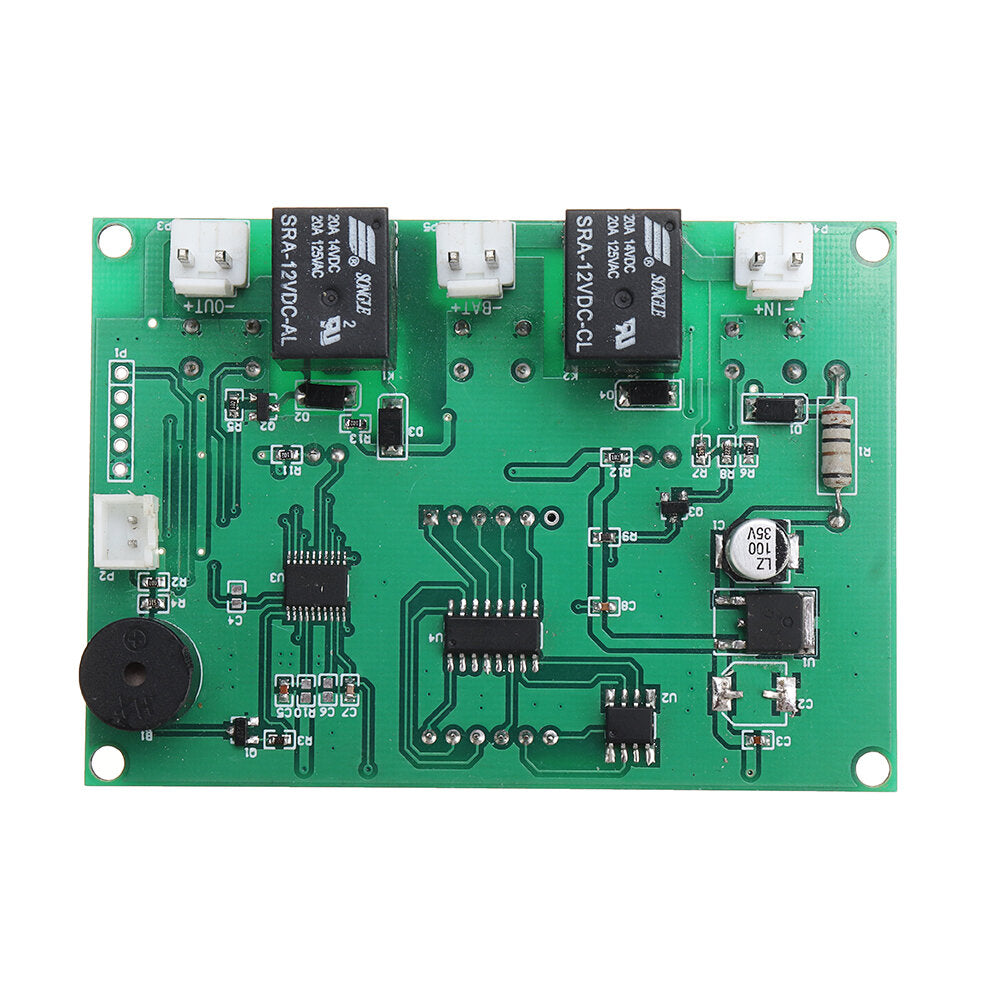
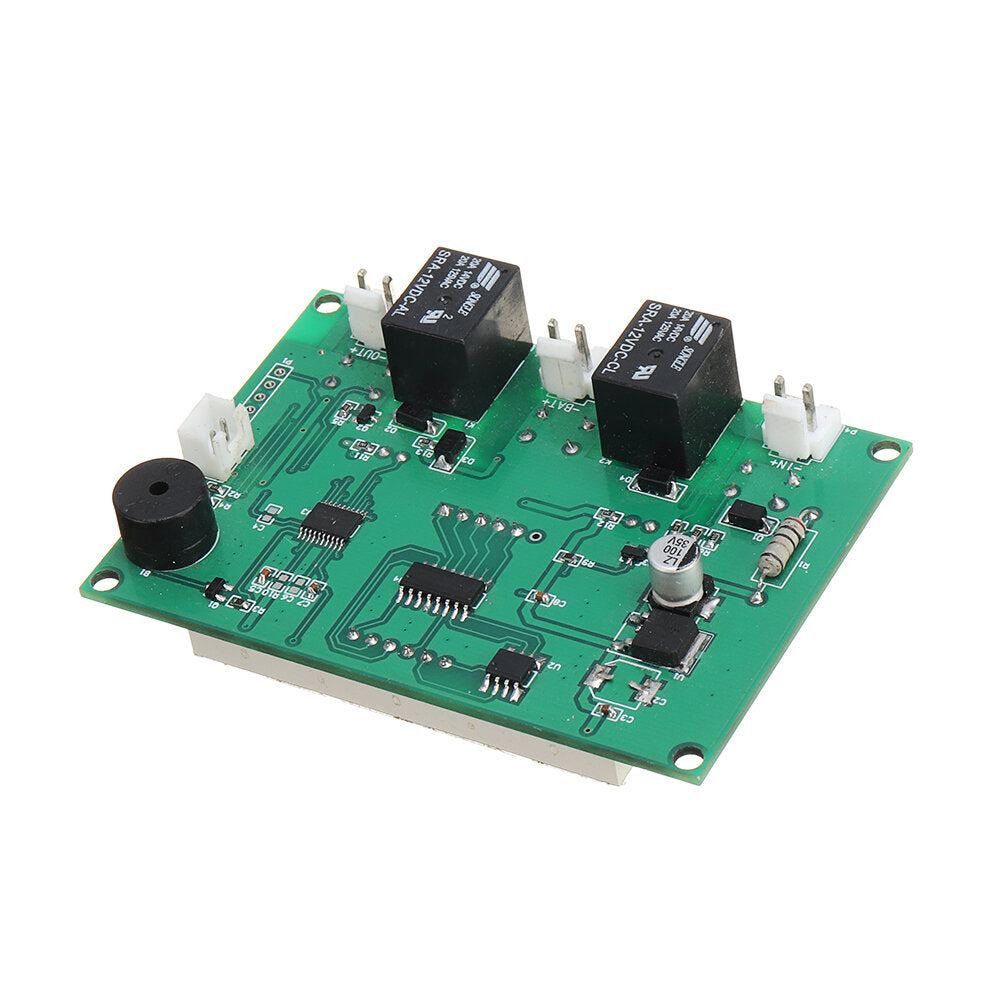
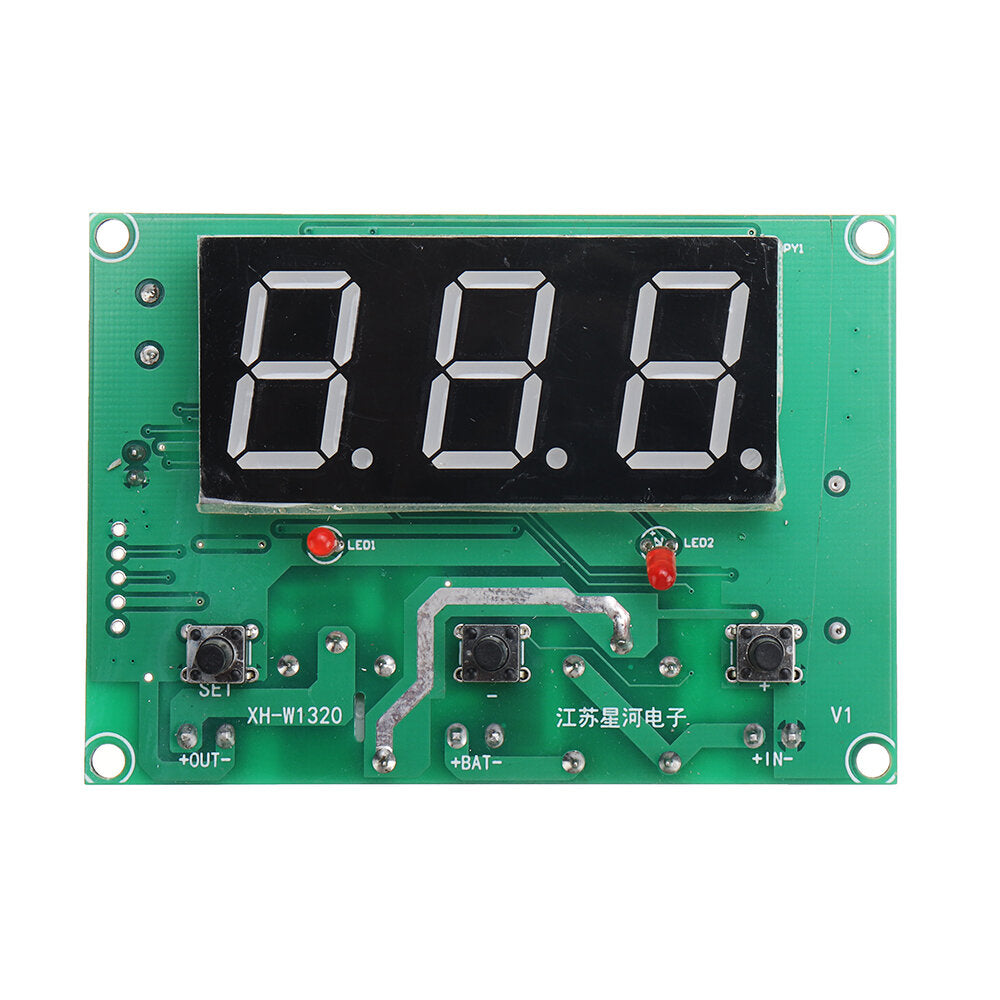
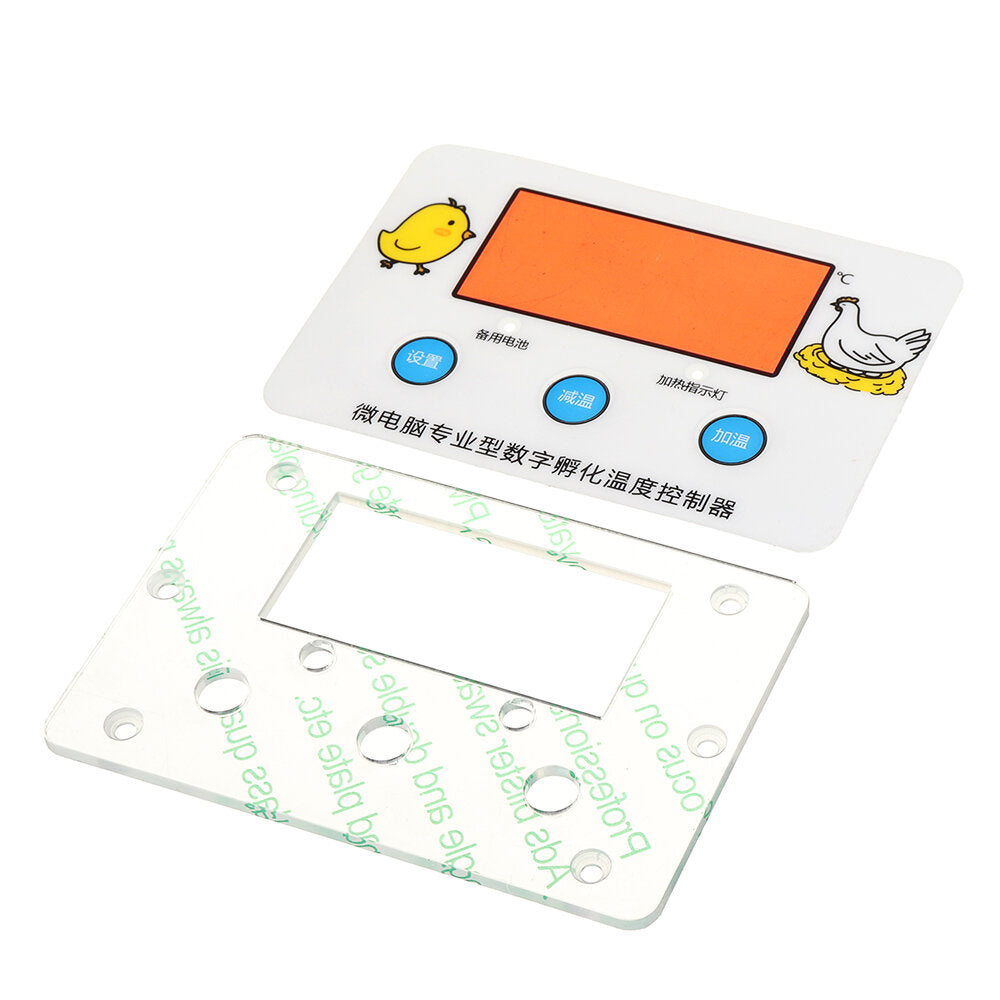
XH-W1320 DC 12/24V Professional Digital Display Incubation Thermostat Egg Hatching Temperature Control with Backup Power Supply
XH-W1320 DC 12/24V Professional Digital Display Incubation Thermostat Egg Hatching Temperature Control with Backup Power Supply
Regular price
$21.00 USD
Regular price
$25.00 USD
Sale price
$21.00 USD
Unit price
/
per
Taxes included.
100 in stock
Couldn't load pickup availability
Specification:
Product Name: Intelligent incubation temperature controller
Product model: XH-W1320
Temperature measurement range: -30 ~ 110 Ôäâ
Temperature measurement accuracy: ┬▒ 0.1 Ôäâ
Temperature control range: -9.9 ~ 99.9 Ôäâ
Temperature control accuracy: 0.1 Ôäâ
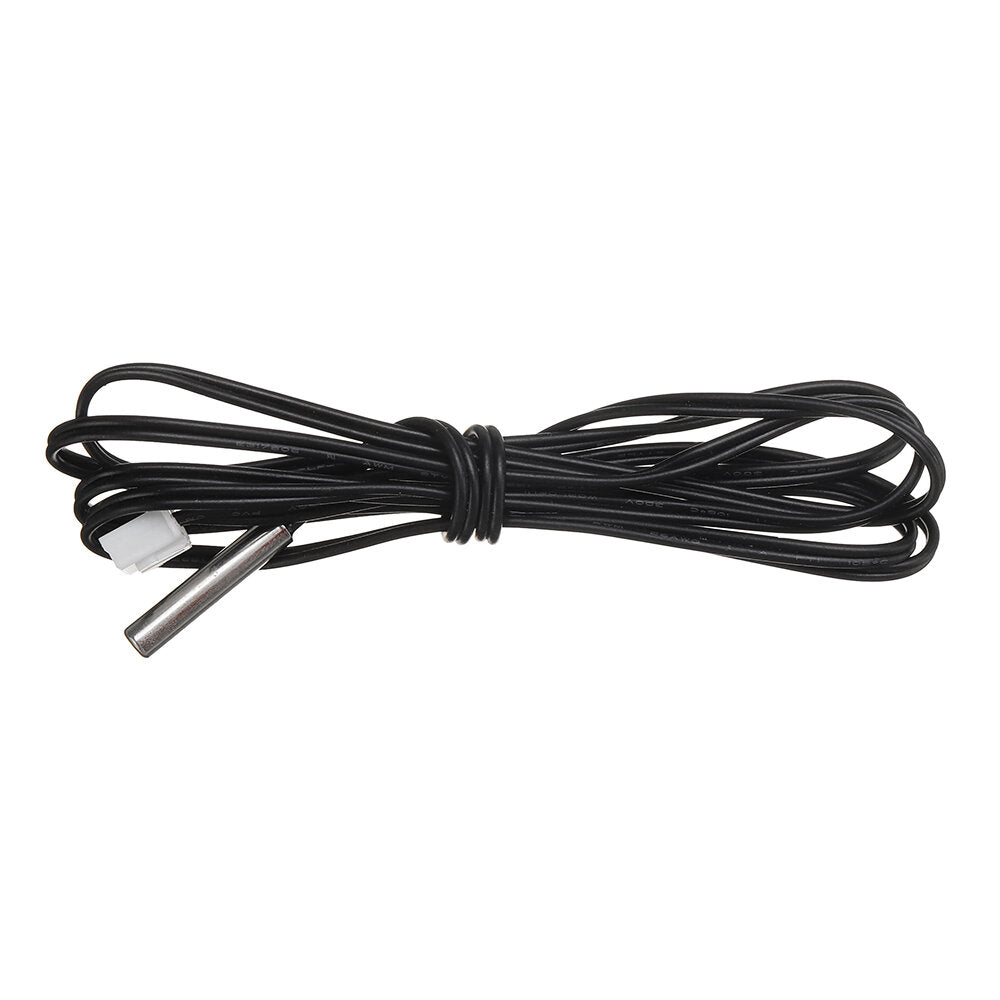
Temperature probe: 1 m probe
Power supply voltage: DC12V/24V
Applicable environment: - 15 ~ 55 Ôäâ / 20% ~ 85% RH
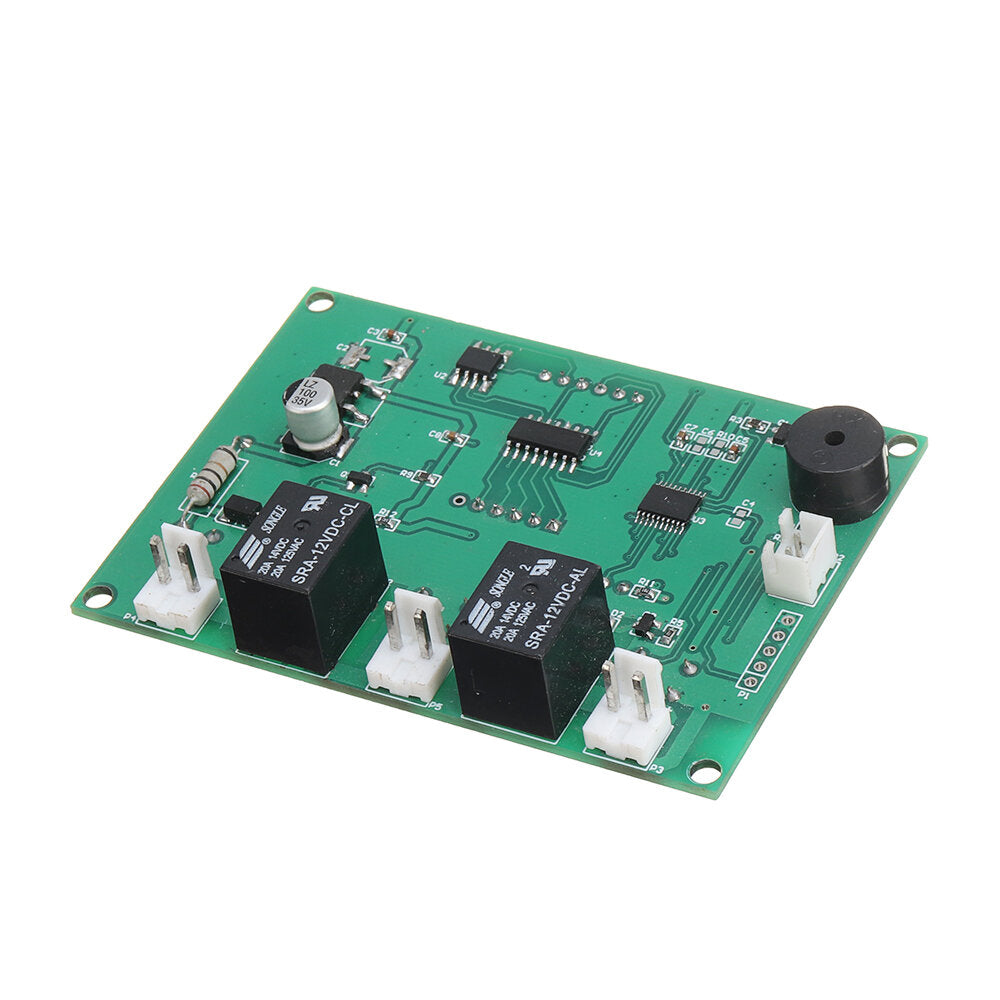
Output type: 6A Relay direct output
Dimension: 105* 70mm
Embedded size: 85*60mm
Installation hole distance: 95mm
Product weight: 71g
Package included:
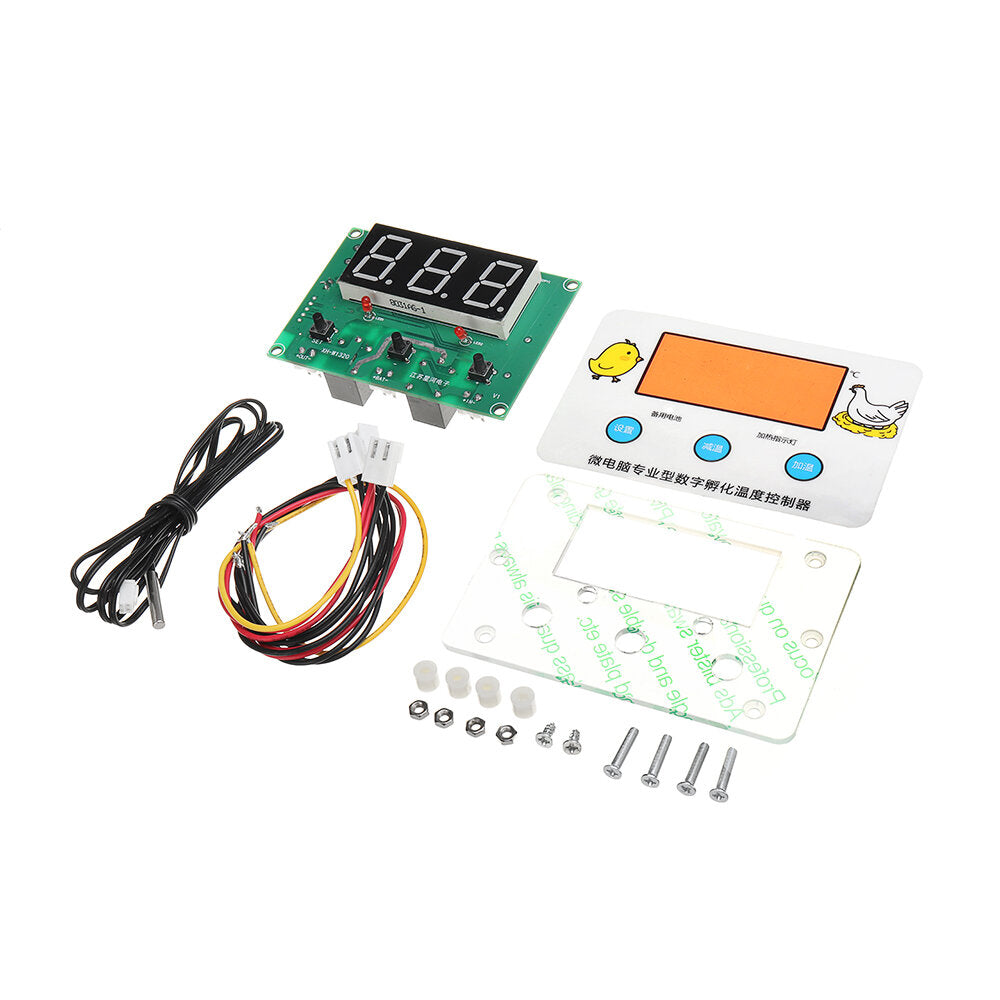
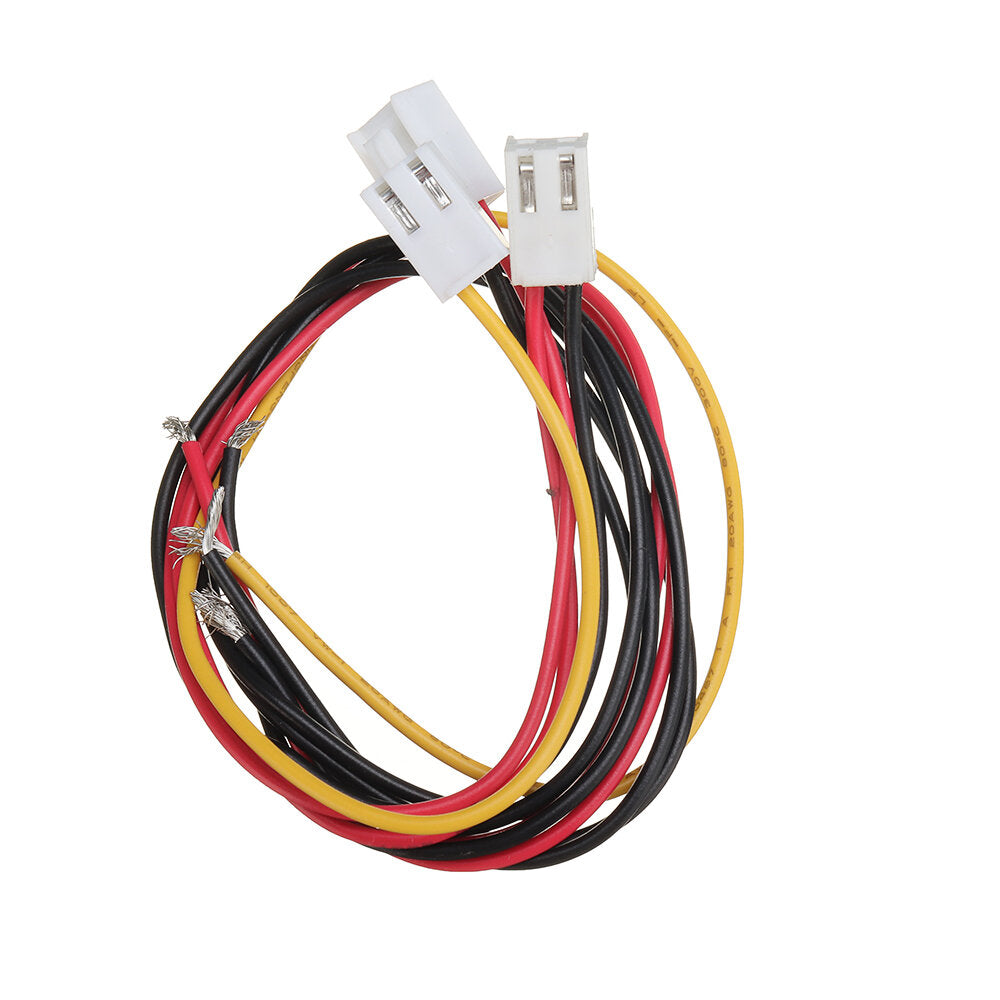
1 x Intelligent incubation temperature controller
Instructions for use:
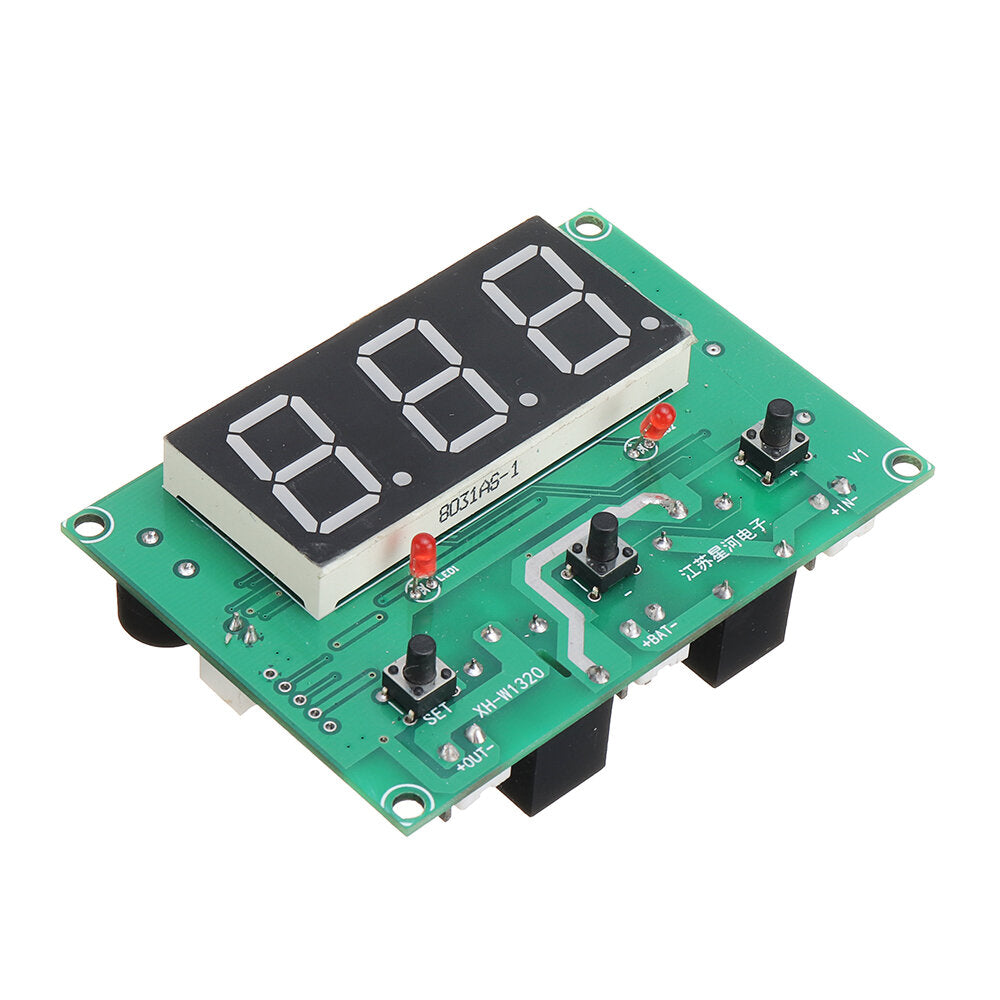
Long press the setting button for 3 seconds to enter the menu P1 P2 P3 P4
P1 hysteresis setting
1. Long press the setting button for more than 3s to display the P1 hysteresis setting
2. Shortly press the set button to display the hysteresis value, the factory value is 0.2Ôäâ
(The setting range of hysteresis is 0.1~30Ôäâ)
3. Press the heating/decreasing key to adjust the value
P2 temperature calibration
1. Long press the setting key for more than 3 seconds to display P1, press the heating/decreasing key to switch to P2 temperature calibration
2. Shortly press the SET button to display the calibration value, the factory value 0.0Ôäâ (calibration range-9.9~9.9Ôäâ)
3. Press the heating/decreasing key to adjust the value
P3 delay start
1. Long press the setting button for more than 3s to display P1, press the heating/decreasing button to switch to P3 delayed start
2. Shortly press the setting button to display the delayed start value, the factory value is 0 (setting range 0~10 minutes)
3. Press the heating key to adjust the value
4. After the setting is completed, the thermostat will delay after reaching the starting temperature, and then start again according to the set time
P4 high temperature warning
1. Long press the setting key for more than 3 seconds to display P1, and press the heating/decreasing key to switch to P4 high temperature alarm
2. Shortly press the setter key again to display ON (function on)/OFF (function off).
3. Press the heating/decreasing key to adjust to ON, shortly press the setter key again to display the high temperature alarm value (factory value 110Ôäâ)
4. Press the heating/decreasing key to adjust the high temperature alarm value
5. After the setting is completed, the thermostat will emit an alarm sound when the temperature reaches the alarm value
I want to control the hatching temperature of chickens at 37.5~38Ôäâ, how to set it?
1. Set the stop temperature: short press the set button and the screen number flashes, press the heating/decreasing button to adjust the value to 38Ôäâ
2. Set the hysteresis: long press the setting key for more than 3s, the screen displays P1, then short press the setting key. The displayed value is the current hysteresis value, and the difference between 37.5-38Ôäâ is 0.5Ôäâ. Press the heating/decreasing key to adjust the value to 0.5
3. After the setting is completed, the thermostat will start the heating equipment at 37.5┬░C for heating, and stop when the temperature rises to 38┬░C, and it will continue to cycle.
I actually measured a temperature of 37.8Ôäâ, and the thermostat showed 37.6Ôäâ, how to calibrate it?
1. Enter the P2 temperature calibration menu: press and hold the setting key for more than 3 seconds to display P1, and then press the heating/cooling key to switch to P2 (temperature calibration)
2. Short press the setting key again to display the current calibration value. The display temperature of 37.6Ôäâ is 0.2Ôäâ lower than the measured temperature of 37.8Ôäâ. Press the heating/decreasing key to adjust the value to 0.2Ôäâ to complete the setting.


